
Basic Soap
Today we are going to explore an area that I'm guessing many of you have not ventured into before, and that is making soap! I, like you probably, was super nervous and intimidated by the process not too long ago. I found however, after the first batch, it really wasn't that hard, scary, unsafe, time consuming, etc. It was pretty much easy. I'm not kidding. It is seriously pretty easy.

Let me start with a little disclaimer: I am not a soap expert. Please take the time to research soap making beyond this tutorial prior to making your own batch. I and/or Holy Hen House is not responsible for any mishaps that may occur. Despite those little legalities, I do want to encourage you. Try it! You may enjoy it. You will for sure make healthy soap for your family in which you know exactly what your ingredients are. You may find a fun new hobby for yourself. I seriously doubt you will be disappointed.
Let's get some safety issues off my chest before we get into things. Lye is caustic. It can cause burns to your skin, eyes, etc. The fumes can also be dangerous. Always wear a mask, gloves, and work in a well ventilated area when working with lye. Lye will react with aluminum, so please use glass to measure and mix your lye. I mix my lye under my stove hood on full blast and have never had any issues with the fumes. Lye can be neutralized very easily with vinegar. When I am making soap, I fill up a sink full of hot, soapy water with a good splash of vinegar. After mixing my lye, I immediately submerge my containers and utensils in that water. Keep vinegar handy in case of spills. Make sure your little ones are being watched by someone other than you while mixing lye. Finally, always double check your calculations with a lye calculator. This assures you have a correct ratio of lye to fats. I always superfat my recipes by 5% which assures that there is a little extra fat to lye, meaning that all of the lye will for sure be "used up," giving it a little extra so that it isn't caustic.
One of the most difficult things I found with making soap is finding ingredients. Today I am showing you a recipe I found from this website. This uses ingredients that can all be found at the grocery store (minus the lye). The ingredients include Crisco (Use real Crisco, as many of the off brands contain different amounts of different types of fats which can screw up your lye calculations.), olive oil (Use the cheap-o, Grade A kind, not extra virgin olive oil unless that's what you have on hand.), and coconut oil (This can be found in the baking aisle by the oils usually. I buy the cheap-o kind for making soap and save the good, unrefined organic stuff for lotion.). The lye can be found at the hardware store in the drain declogging section. Don't waste your time at Lowe's, Home Depot, or the like. I found mine at Ace Hardware for about $5.00 for a container. I also used some essential oils in mine, but this is not necessary. Here is a picture of the ingredients to give you an idea of what to look for. Other items you will need that you may not have already are a crock pot, goggles/gloves/mask, digital kitchen scale, and an immersion blender. I use the same crock pot that I cook with to make soap, as with all of my other measuring cups. I do have one wooden spoon that I keep just for my soap making, but that's it.

I won't get too much into the details on the science side of things. Basically, soap uses a combination of fats of various kinds, a liquid, and lye. The process I will be showing you today is hot process soap making. Making soap this way, by actually cooking it, causes the soap to saponify right away versus waiting 4-6 weeks like you would need to with cold process soap. This means you can theoretically use your soap right away, which I do. Some people say you should still wait 4-6 weeks, but it won't hurt you. I am all about immediate gratification with my crafty projects and 4-6 weeks sounds like a lifetime when you want to try out your new soap. The soap result isn't as pretty or as even looking as cold process is, but I don't really care since I am not selling this.
So let's get down the the nitty gritty details, shall we? I've broken this up into some overly simplified steps with hopefully enough details and pictures for you to get an idea of all of this. Before we start our steps, get out all of your ingredients, some gloves, goggles, a mask, and fill up a big sink full of soapy vinegar water. Keep that vinegar on hand, just in case! Safety first people.


In this step we are measuring all of our ingredients and beginning the melting process. You will notice in the recipe at the bottom of my post, that all the ingredients are listed by weight value, instead of volume measurements. This is the way (weigh, ha!) you have to do it, and please don't try to do it otherwise. In order to have the correct amount of lye for your fat amount, you need to use weights. I highly recommend buying a digital scale for this. This is the one I use. I end up using my scale for lots of cooking in the kitchen as well, as most dough/bread/floury recipes are more accurately measured that way. Plus, it's way easier. Measure all of your fats and put them in a crock pot on low or high heat to melt. This usually takes about an hour, so plan for some breaks in between. This break is perfect for eating a snack and reading your peewee a story. After your fats are melted, you can measure out your water and lye. Put your water in a larger glass (not aluminum) container; I use my Pyrex 2 cup measuring cup. Put on your mask and gloves, and have vinegar handy. Measure you lye into a separate container; I use my Pyrex 1 cup measuring cup.
This next step, we make the lye mixture. Keep on your gloves, goggles, and mask for this. Work in a well ventilated area and on a heat resistant surface. I do this on my stove with the hood fan on. You could also go outside if that makes you more comfortable as well. Slowly add your lye to your water. ADD LYE TO WATER. Do NOT switch that around please. I'm not sure what happens exactly, but I hear it's not great. Mix this slowly until the lye is completely dissolved. The mixture will get very hot during this process so don't touch it. The picture below shows how clear it is with the lye mixed in. No chunky monkeys here people. Dissolve it completely.


Now we are to the mixing process. This can take about 10-15 minutes, so don't be alarmed when you feel like you've been standing there for twelve days. I use an immersion blender for this. You can theoretically use a whisk, but that takes something like half an hour. I've never tried it. You have your melted fats in your crockpot, and your mixed up lye solution. While still wearing the works, slowly add your lye solution to your melted fats. I use a spoon to mix it up a bit first. Then use your immersion blender to pulse it. Alternate pulsing the blender with stirring by hand. (Otherwise you will fry your blender.) Try not to splatter as the lye is still caustic at this point. You can see in the pictures below that the mixture becomes milky initially and then thickens. You are done mixing when you have reached "trace." Trace is when you dribble some of the mixture on top of itself, and it sort of forms a line. See my picture below. It makes more sense.


After you have reached trace, you can cover and cook your soap. In hot process, hence the name "hot," this is when saponification happens. This will neutralize your lye, making you able to use it on your skin and essentially turning it into soap. Cover and cook your soap for about 1 hour on low. It will kind of go through a weird goo metamorphosis during this time, which you can see in the pictures below. I usually stir it a couple times while it is cooking so that it doesn't foam overboard. It looks somewhat like waxy mashed potatoes when it's all done. Some people recommend (and others adamantly are strongly against) doing a "zap test." This is when you take a small cooled piece of your soap mixture and press it on your tongue. If it zaps you (this is a super small zap) it's not done yet and needs to be cooked longer. I will let you decide if you want to live on the edge or not...

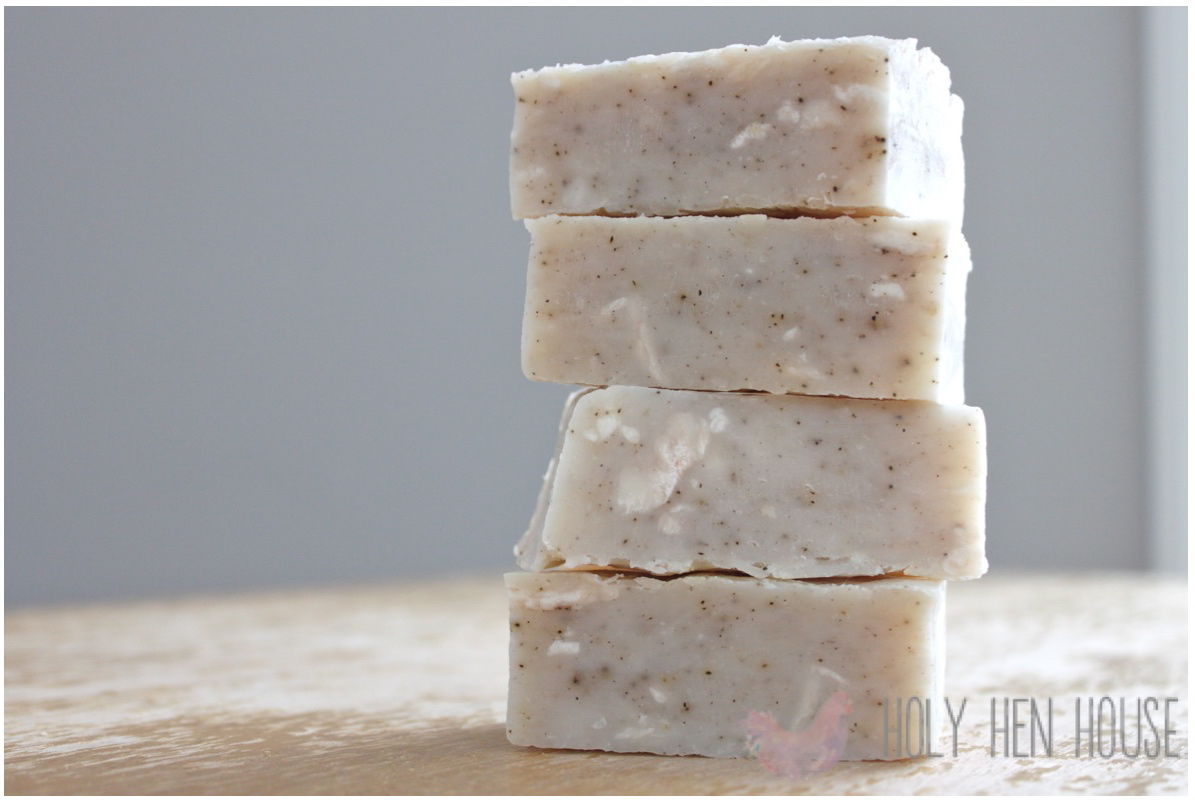
Your soap is basically done now! Allow it to cool for a little bit if you plan on adding essential oils. If it is too hot, the oils will burn right off. You can also add other things like spices or ground oatmeal. I added some cinnamon and ground cloves to the batch shown. Dump your soap into some sort of mold. I use a baking dish lined with plastic wrap. Feel free to get creative. I'd recommend lining it with something for easy removal. Allow to cool and harden. I usually give mine a day or so. Remove it, and chop into soap bars. You can use it right away. The longer you let it sit, the harder the soap will become, making it last longer. It should also become more gentle on the skin.

Enjoy! You've just made a beautiful (or oblong) bar of soap which you and your family can enjoy. You can feel a great sense of pride by getting back to your roots, just like grandma, and also happy that you know exactly what your family is using on their skin. If you really want to treat yourself, buy some adorable little soap cozies, or crochet them yourself!
I hope you enjoyed this tutorial today. It was a lot of words, and I'm glad you made it through! Don't hesitate to ask any questions. I will try to answer as best I can!

Have you ever made soap before? What are your favorite scents to use? Please share!
